All About Leather
How to Stitch Leather?
Dec
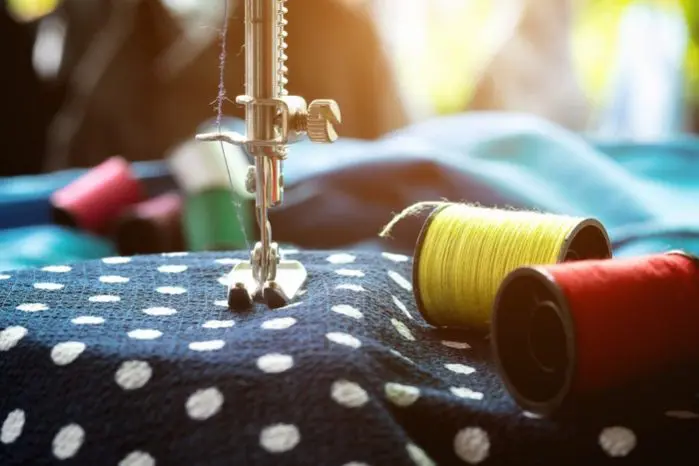
Leather is one of the most iconic fabrics around. And it’s for good reason. It’s durable, stylish, timeless and functional. In fact, you can buy a leather item once and wear it forever. However, a lot of people are deterred from making their own leather items due to the machinery required in the process. Thing is, not everyone has access to an industrial sewing machine, plus you need to learn how to use it before you can start sewing, which can take some time.
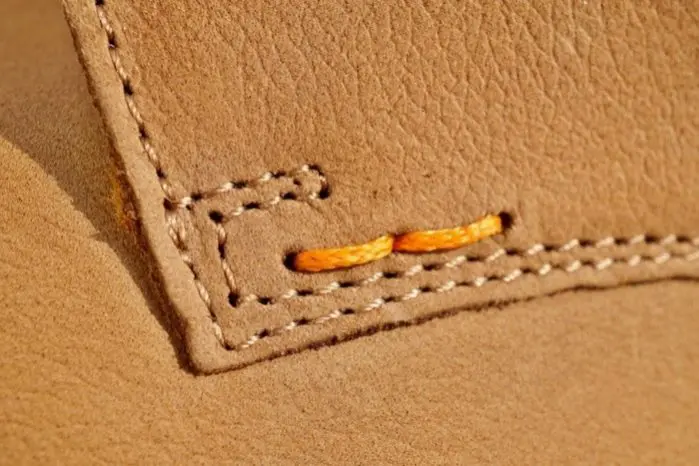
The good news is that you can sew any leather item using the “saddle stitch” method, where you stitch the leather together using your hands, so it’s a manual approach.
Here are some helpful tips to help you learn how to stitch leather.
[RELEVANT: How to Lace Leather]
Materials Needed
The main materials and tools needed when you’re hand stitching leather pieces include:
- A stitching awl
- Overstitching wheel
- Stitching groover
- Waxed thread
- Leather stitching needles
- Rubber cement
The Process
Step 1: Using Rubber Cement
First, you apply rubber cement on the leather pieces that you’ll be working with, making sure that it’s a light coat on the edges. This will keep the pieces in place while you’re sewing and the rubber cement is light enough to enable you to move the pieces a bit while you’re sewing to make sure that they’re properly aligned.
Step 2: Getting Groovy
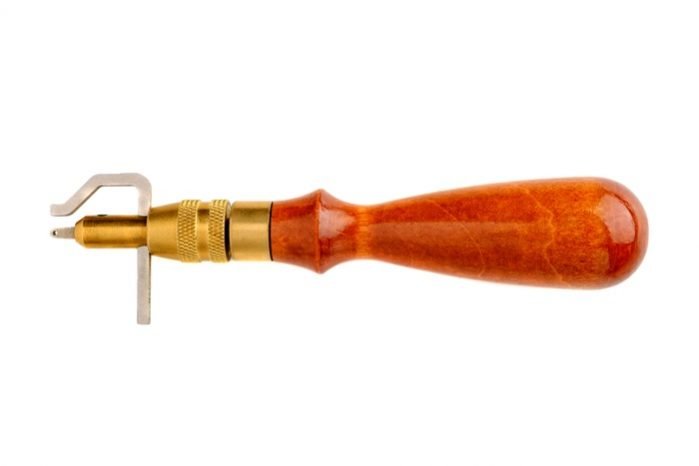
Now, use the stitching groover to create a slightly hollow line along the leather pieces so that it’s easier for you to keep a straight line when stitching.
Step 3: Marking Stitch Spacing
After you’ve finished making the groove, you can then start marking the line along which you’ll be running the thread using an overstitch as your tool of choice. You can use as many stitches per inch as you like, it all depends on what you’re making.
Step 4: Locking the Needle
Now you’re ready to start locking the needle, which involves putting the thread into the needle eyelet about an inch and again through the needlepoint until it’s halfway through. Afterward, lock the needle in place by pulling the loop that you’ve created over the eyelet once again.
Repeat the same with another needle from the other end of the thread. This will help to keep the thread in place while you sew.
Step 5: Using a Stitching Awl
Using a stitching awl, punch holes all along the leather pieces which you’ll be putting the needle and thread into. Thanks to its ice-pick-like design, a stitching awl is able to punch clean holes into the leather instead of creating tears.
Be sure to maintain the awl at a 90-degree angle so that you create a uniform line with correct spacing.
Step 6: Get Stitching
As you start sewing into the first hole, make sure to maintain equal lengths of thread on each side. Then, go in with the second needle on the same spot but approaching it from the opposite side as that of the other needle.
Continue sewing in this way until you finish. Should you struggle to fit the needle or get them through the leather, you can always get the awl involved again to punch wider holes.
Step 7: Locking the Stitch
Once you’ve finished stitching the first line connecting the leather pieces, sew back again following the same line to reinforce the stitching. Then, make sure to pull down the thread to make sure that it’s nice and snug before you cut it off with scissors.
[GOOD READ: How to Work with Leather]How to Stitch Leather
And there you have it – a 7 step process of how to stitch leather. Everyone can do it. Simply follow the steps, get some practice, and before you know it, you will be really good at it. It takes practice to learn anything in life. Repetition is the mother of science. Well, it’s the mother of everything! Therefore, don’t et discouraged if it does not go well in the beginning. Just remember that it’s a marathon and not a sprint.
Hope you enjoyed the read. Join our family by subscribing to our newsletter and follow us on Facebook and Instagram for more useful tips and information related to leather.