All About Leather
Ways to Repair Leather
Oct
When life happens and you beloved leather purse is damaged, please keep your poise and relax. The ways to repair leather do in fact exist. Therefore, not everything is lost and you will not need to go looking for another purse right away. In general, there are two most common types of damage that leather bags take, and they are tears and scratches. You don’t need to be a genius to understand that these two are very different in level of severity and thus will take a different approach to fix. We covered scratches and how to get rid of them in greater detail in this short guide “How To Remove Scratches from Leather”, so if it’s a scratch that you caught, please go ahead and read this article.
If, however, your leather was torn due to some accident or incident, you will have to take different steps entirely. First of all, if you are not someone that is handy and don’t want to waste your time trying to stich things, please take your bag to the nearest leather repair shop, and they will do it very fast and fairly cheap. However, if you do want to get your hands on it, continue reading. Also, check out our “How to Work with Leather?” article to give you some more understanding about leather.
[Good Read: Does Italian Leather Peel?]Purchase Leather Repair Kit
Repairing torn leather requires different instruments and tools. Therefore, please go ahead and purchase a repair kit. Internet is full of various kits on sale that are fairly inexpensive and practical to have. But if you are wondering how to repair leather yourself, there is a large chance that you already have everything you need.
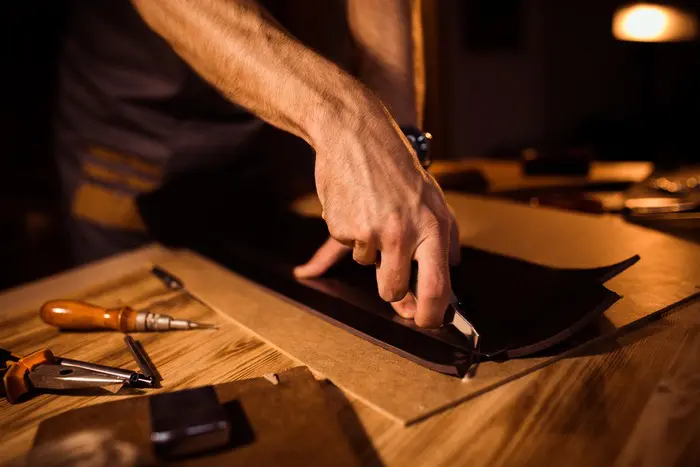
[RELEVANT: How to Stitch Leather?]Repairing Torn Leather
Small tears can be patched up using a leather repair kit. You will want to get a kit that also includes a stain that matches the color of your leather as this will help it seamlessly blend in. Keep in mind that this process works best for tears that are between 6 and 7 inches long and 2 to 3 inches wide. Bigger issues should be fixed by professionals.
1. Prepare the tear
Cut off any loose fibers or fabric. This will help the tear close smoothly and prevent any snagging that could reopen it in the future.
2. Cut the patch
In the kit, you’ll find a patch to repair your leather. Cut it slightly bigger than your tear, about 1 inch bigger on each side.
3. Applying the patch
Using tweezers, insert the patch under the fabric. It should completely fill the gap in the leather. Apply the leather glue to the underside of the leather surface and repeat on each side. Apply pressure to set the glue, closing the gap. Wait for the glue to dry, between 10 and 30 minutes.
4. Apply the leather filler
Now that the tear has been sealed, you can now apply the leather filler to close any additional gaps for a smooth finish. Apply it to the seam in the tear on your leather and wait 24 hours for it to dry. Repeat as needed until the gap is completely filled.
5. Touch up the color
Apply the leather dye using a cotton swab and let it dry. Repeat until the color matches the finish.
6. Apply leather conditioner
Finish the process with a leather conditioner or finish to help protect the leather and prevent cracking.
Check out our Leather Care Balsam HERE.
Repairing scratched leather
If you are trying to repair leather that has been scratched and scuffed, you can treat it with leather dye. This is similar to the above steps, but you will want to prepare the leather differently to help the dye set properly in your leather.
8. Clean the leather
You will want to prep the leather by cleaning it, removing any finishing glaze that would prevent the dye from penetrating. Test on a hidden corner to make sure not to damage your leather. Let it dry.
9. Apply the color treatment
There are coloring balms or dyes that you can get to match your leather. Test on a small section. If you are pleased with the match, apply to the leather. Let it dry and buff the excess. Repeat until the desired color is achieved.
10. Condition your leather
After the treatment, remember to condition your leather to make sure that it stays healthy and damage-free.
Ways to Repair Leather
So here you have easy and quick steps teaching you the ways to repair leather. If you enjoyed the read, please follow us on Facebook and Instagram for more cool info about leather and leather products.
Thank you for this article. I have never repaired leather and have a lot of saddlebags to repair and this info is very helpful.