All About Leather
How to Make Leather Wrap Bracelets?
Apr
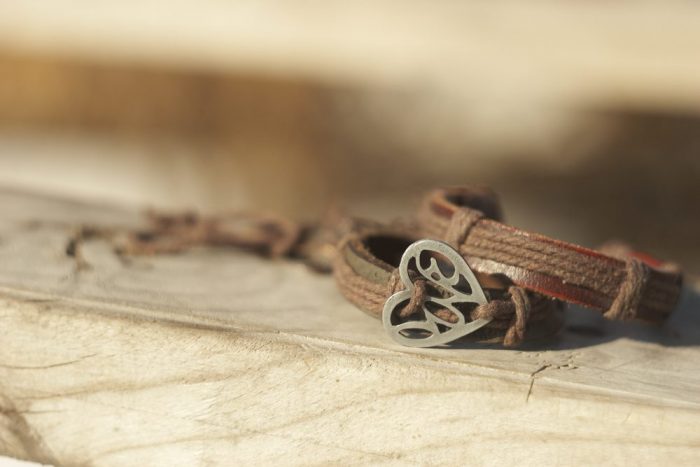
Leather is one of the materials that somehow managed to become an integral part of the majority of products. Nowadays, leather can be found in various pieces of clothing (shoes, jackets, pants, etc.), furniture, and even ornaments and decorative jewelry. Jewelry will be the main focus of this DIY tutorial. Leather bracelets to be precise. Ever wanted to have a bracelet that matches your clothing style but couldn’t afford the ones that look stylish and flashy? Well, the good thing is that you can make them yourself without having to deal with the absolutely insane price tags. Just continue reading this awesome “how to make leather wrap bracelets” guide and get to work!
Before we start, there are multiple variations of bracelets out there, some of which include leather wrap beaded bracelets, bracelets with interwoven threads, wrap bracelets with braided leather, etc…The first thing to do is to consider what bracelet type you’re after and what materials you intend to use. To make this easier for you, we’ve selected three of the most common bracelet types and the methods used in their making.
1. Beaded Leather Wrap Bracelet
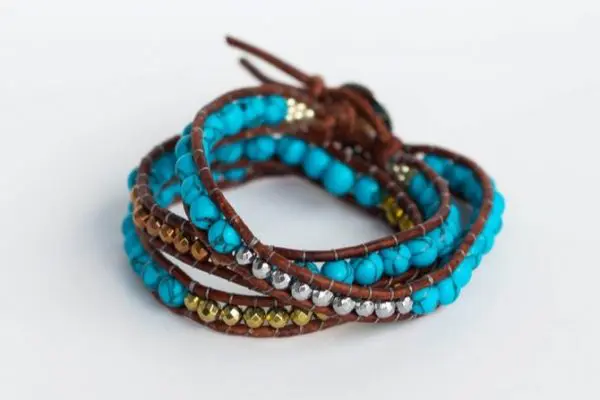
The materials that you’ll need for this bracelet are as follows:
- 2-millimeter leather lace;
- beading thread;
- and some beads of your choosing (you can choose which shape and color you want).
The length of the lace depends on how many times do you want the bracelet to wrap around your wrist. Once you’ve gathered all the necessary supplies, you’ll have to measure your wrist . Make sure that you leave at least an inch and a half more. Some parts of the bracelet will need to overlap in order to connect the ends of the bracelet, which is why this is necessary.
The first step is to tie the strands at one end into a knot. Make sure that you leave at least an inch of leather so you could tie the bracelet around your wrist once it’s completed (this refers to one wrap around the wrist).
The next step is to add your beads accordingly. Slide each bead along the strand until it reaches the knot and then slide the second strand through it. You should have both strands of leather coming through each side of the bead. Repeat this beading process until the length of it covers your entire wrist or until it reaches your desired length of the bracelet.
The final step would be to repeat the first one and tie another knot at the end of it.
2. Braided Leather Wrap Bracelet
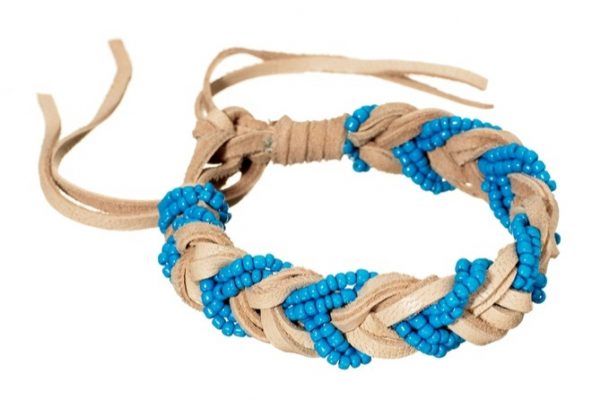
The only things that you’ll need for this bracelet are just three strips of leather. It’s definitely one of the easiest wrapped bracelets to make. Don’t let its simple design fool you though as it can look as equally trendy as any other.
Firstly, you’ll have to wrap the leather strips around your wrist to determine how long do you want your bracelet to be. If you want to wrap the bracelet multiple times, you’ll want a greater length of the leather strips.
Once that’s done, proceed to tie a knot which will serve as a secure point. The braiding process is the same as the one that is used for hair.
What is left to do is to smooth out the entire wrap so that everything gets flattened and to tie another knot at the end.
3. Studded Leather Wrap Bracelet
This DIY bracelet costs under $10 (for the materials) and is extremely easy to make. What you need is a strip of leather and a set of studs. That’s it. Just as with previous types, you can measure you leather depending on how many times you want to wrap the bracelet around your wrist. You just need to leave an inch more on the ends so that the bracelet can be tied.
After you’ve measured your leather strip length, you’ll have to space the studs evenly. Secure them by smashing them into place. Fold back the prongs of each stud against the leather. Do this until you’ve covered the desired length.
The final step is always the same, which is to tie the ending knot and complete the bracelet.
Conclusion
All in all, the focus of this DIY tutorial-oriented text was to emphasize the fact that there is an alternative to spending money on expensive jewelry. These are just some of the available methods on how to make your own bracelet. Be sure to search the web for more as there are hundreds and hundreds of bracelet types out there. We hope that the answer of how to make leather wrap bracelets was at least partially answered. Leave questions and comments below.
In case you don’t feel confident enough about making your own bracelet, and you still don’t want to buy expensive ones, there’s even a third option. There are several well-established jewelry businesses that offer good products for reasonable prices. Don’t be shy browsing our own collection of bracelets.
Hope you enjoyed the read. Join our family by subscribing to our newsletter and follow us on Facebook!
Great read, thanks a lot!